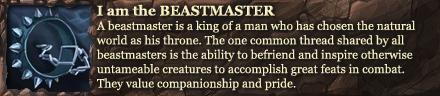
I wrote this for a beta competition, some info may be severely out of date, some info may not be included. This did win a prize in the beta competition, but thats another story.
And i have decided to put some funny bugs and pictures at the end of this guide. Thanks for reading
Index
Use the Ctrl+F to find the section you need if your on computer. If not have fun scrolling
Introduction...................0001
Builds....... ...................0002
-Druid...... ........ ..... .....0002a
-Warrior... ....................0002b
-Rogue....... .............. ...0002c
-Ranger.......... ... ..........0002d
-Mage................. .........0002e
Tactics......... .. ...... ......0003
Bosses......... ... ...... ......0004
-Old..... ..... .. ..... ..... ...0004a
-New............................0004b
......Dunskeig Sewers........0004b1
......Fingal's Cave.............0004b2
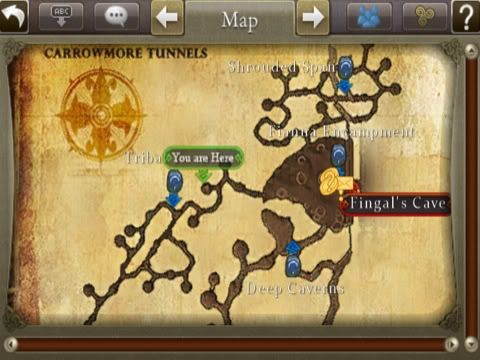
......Carrowmore Tunnels...0004b3
-Event....... .... ...... .......0004c
Bonus Pictures.................0005
Introduction (0001)
This is my first real guide written for Celtic Heroes, I am not an original player nor do i use every class. I like to use druid and rogue mainly, but all the classes will be confirmed by other people that they are correctly setup. Hope you enjoy reading this 'book'.
This guide will describe the bosses, starting from Lir's Reach and ending in Carrowmore Tunnels. I will attempt to devise a strategy for each boss using a group of similar level. Including most event bosses.
Builds (0002)
For bossing each character may have different builds to their levelling types. I shall label ideal builds for bossing here. These are guidelines and are not requirements.
Druid (0002a)
Druid(Support):
The druid's job is to keep the "tank" (warrior) alive. This entails, healing and buffing (skills that raise attributes). The druids must know each others strengths and weaknesses to work as a team effectively.
Recommended skills:
-Nature's Touch
-Shield of Bark
- Nature's Embrace
-Abundance
-Boss specific Wards*
-Nature's Breath**
-Bless
*Wards are used depending on the bosses type of attacks, if the boss is primarily Slash damage, you would use Ward of Soldiers. If a boss uses many fire skills, you would also use Ward of Fire.
**Nature's Breath is used when the boss does AoE (Area of Effect) damage or damage to random people in the group. It also provides a good heal to assist your healing effectiveness.
Recommended Stats:
The best build for this is to have majority focus, no strength or dexterity, and seeing as you shouldn't be getting hit, vitality isn't a necessity.
Recommended Gear (no plat):
Any energy regeneration item you can muster, all of these items are bought from Luxury Shops, located in the Castle, Otherworld and Carrowmore Tunnels.
Rings- you would always use rings that would compliment your current build, so if you use shield of bark, you would use a shield of bark ring, thus improving that skill, you have 4 rings to choose from, although there are rings in Carrowmore's Luxury vendor, i would opt against these and just use skill rings.
Misc slot- i would recommend a camouflage charm, otherwise i would use a novelty charm, this slot is useless unless you own an event or discontinued item that uses this slot.
Bracelets- before either energy regeneration bracelets or Aggragoth skill bracelets.
Armour- if you are able to find any armour with either focus boosts or nature ability boosts, this would be ideal, otherwise what you normally would use.
Weapon- offhand should be an item that either has very good energy regen or provides a focus boost, an Aggragoth book or any weapon that can improve your nature ability or focus boost.
Druid (dps):
Very rare to find a group with one that actually does damage. These do provide excellent damage, but very few exist simply because of common stereotypes. Only problem is they require event damage gear to prove effective.
Recommended Skills:
Howling Wind
Strangling Vines
Lightning Strike
Storm's Touch
Recommended Stats:
Full focus- this is because with these skills it is easy to obtain aggro, when you obtain aggro skills get interrupted too often so it is much more effective to die and then idol to continue to damage.
Recommended Gear:
Neck- Radiant neck
Rings- Aggragoth damage rings
Bracelets- damage bracelets or Aggragoth bracelets that give you one of the above skills
Armour- Radiant Earthstone everything excluding Heroic Haste Gloves
Weapons- offhand damage blade/axe and no main-hand
Warrior (0002b)
Warrior (tank):
The warriors role is to basically be a "tank". A tanks role is to maintain the bosses attention (aggro) this means taunting the boss continually. Trying to avoid the rest of the group from dying.
Recommended skills:
-Protective Stance
-Taunt
-Shield Bash
-Warcry*
*Warcry- this is best used when the boss is surrounded by adds, or when the boss calls for help. You call for the mobs to attack you, this is useful when druids are being attacked as it is an AoE Taunt.
Recommended Stats:
Tanks should have majority of their points put into vitality, but some may choose to have a small amount of dexterity to dodge the occasional attack.
Recommended Gear:
Neck- An Amulet that regenerates both energy and health
Rings- if you can get a hold of Charstone Rings, use these, except if you have Protective Stance rings. Any ring that compliments your tanking build is acceptable also
Misc Slot- any event misc item is useful here, i wouldn't recommend a camo charm as you are trying to gain the aggro of the boss and mobs surrounding
Bracelets- any resistance bracelet that counters the bosses attacks or an Aggragoth bracelet of taunt or protective stance.
Armour- use the armour with the most armour and resistances, haste gloves are an option but as a tank not advisable.
Weapons- A shield offhand, preferably more armour and resists. Weapon can range, any weapon is fine as long as it isn't two-handed. What is better than these are apprentice and master weapons, they give vitality, dex or strength and provide boosts to skills or stats. These are ideal until you manage to get a Aggragoth trident.
Warrior (dps):
These aren't effective dps but many people choose to use this build for the purpose of levelling. This build isn't useful for bosses.
Recommended Skills:
Pummel
Giant Swing
Frenzy
Rupture*
Shatter
*Rupture is only able to be used with an axe or hammer
Recommended Stats:
This build doesn't require a large amount of vitality. Many go 2:3 vit:str which allows for some decent damage.
Recommended Gear:
Neck- Pyre amulet or the cold equivalent, 10-15 pierce necklace is ideal, even a Earthstone amulet is good, but assuming your unable to get these an health and energy regen amulet are fine.
Rings- Aggragoth damage rings or skill rings that compliment your build
Bracelets- Aggragoth Bracelets that compliment your skills and weapon type. If not that a physical damage bracelet is fine.
Armour- Earthstone armour, assuming this is unobtainable just use your normal armour.
Weapons- offhand blade, axe, dagger whatever you prefer. Main weapon is personal preference, you choose what you are most proficient in.
Rogue (0002c)
Rogue:
Simply kill the boss, or any enemies that attack druids (adds)
Recommended skills (No damage gear):
-Sneaky Attack
-Quickstrike
-Assassinate
-Smoke Bomb
-Expose Weakness
Recommended Stats:
Due to the boss not attacking you often you are not required to have a large amount of health, so you can exchange most of vitality points for dexterity or strength, but with the strength plateau i would suggest to only give yourself enough strength to hit the plateau. After you hit the plateau divide the dex and str at a ratio of 2:1 dex to vit. The large amount of dex will help you hit the boss more often, while being able to dodge a large majority of the bosses attacks should you get aggro.
Recommended Gear:
Neck- if your able to get a hold of one, an Earthstone Amulet is a good choice, but the 15 pierce damage necklace is the ideal choice. Assuming you cannot get these items, i would suggest an energy regeneration amulet to allow for maximum skills.
Rings- i would suggest any damage rings from Aggragoth, but any ring that compliments your current build is acceptable.
Bracelets- i would suggest any physical damage bracelet, apart from this i would suggest an Aggragoth bracelet that compliments your build.
Armour- any Earthstone armour is great. Assuming you cannot use event and discontinued items. I would suggest any damage helm, with obsidian, bone or dragon armour as these provide damage boosts, and of course heroic haste gloves.
Weapons- any offhand blade, dagger, bodkin, trident or axe. These provide extra damage and some provide extra regens for your skills. While using the fastest, highest damage weapon possible, for bosses i would suggest warden, meteoric, frozen or dragon weapons as mythic damage provides more damage to bosses than normal weapons.
Ranger (0002d)
Rangers:
Rangers will kill the boss and adds when needed, and occasionally may need to heal. Basically a last resort support and decent damage.
Recommended Skills:
Rapid Shot*
Steady Aim
Sharp Shot
Light heal
Bolas**
Long shot
*Rapid Shot is best used when the skill level is low 1/35 or even 5/35 is fine for this skill due to energy consumption.
**Bolas is use as a back-up if the warrior dies it allows the group to recover.
Recommended Stats:
In this I wouldn't suggest a large amount of vitality, simply because the ranger isn't close enough to need it. I would suggest an equal amount of dexterity and strength, to make full use of the skills you use.
Recommended Gear:
Neck- see rogue
Ring- see rogue
Bracelet- see rogue
Armour- heroic haste gloves, and Earthstone armour, assuming you cannot get Earthstone armour, use warden, meteoric, frozen, dragon, obsidian or bone armour, which ever you believe is best.
Weapons- offhand quiver, fire is usually better as most mages max fire lure. And a bow, warden, meteoric, diamond or frozen are all good until you can get dragon.
Mage (0002e)
Mage (lures):
The idea of this mage is to Lure the boss of the types of damage being dealt towards the boss.
Recommended Skills (most to least used):
Lure of Assassins
Lure of Fire
Lure of Ice
Lure of Soldiers
Lure of Giants
Lure of Magic
Recommended Stats:
All focus- this provides the most effective lures
Recommended Gear:
Neck- energy regen neck
Rings- i would suggest any ring that boost the main lure of use
Bracelets- Aggragoth bracelets compliment your build
Armour- any focus/ability improving armour
Weapons- any energy regen or focus boost offhand and an Aggragoth book mainhand.
Mage (support):
This mage is made purely to provide boosts to the group to maximise skill usage and energy stability.
Recommended Skills:
Energy Boost
Energy Well
Fire Cloak
Sacrifice
Ice Attunement*
*this skill is used to improve your current skill effectiveness, not a necessity but useful for extra boosts.
Recommended Stats:
Read Lure Mage
Recommended Gear:
Read Lure Mage
Mage(Dps):
These are devastating damage, not always the best but speed up a fight significantly. They usually dabble between lures and damage skills provided they don't carry their own lure mage along with them.
Recommended Skills:
Fire Bolt
Incinerate
Firestorm
Lure of Fire
Fire Attunement
Ice Blast
Ice Shards
Frostbite
Lure of Ice
Ice Attunement
Recommended Stats:
Full focus to provide as much damage as possible
Recommended Gear:
Neck- depending on your gear this would be either a Earthstone Amulet or a energy regen neck
Rings- Aggragoth damage rings or Rings that compliment your skills
Bracelets- Aggragoth bracelets, or damage braces or energy regen braces
Armour- stuff that gives the most focus or Earthstone armour
Weapon- when you are using Earthstone armour i would suggest to use a offhand damage blade/axe and no main-hand as this will provide a large amount of damage. When using focus armour i would suggest using an energy regen or focus boost offhand and an Aggragoth book or weapon that increases focus or ability.
Tactics (0003)
1. Traditional (T)
Group requirements
2-3 druids (support)
1-2 warriors (tank)
1-2 rogues
1-2 rangers
1-2 mages (Any, preferably one lure mage)
Essentially the idea is for the tank to hold aggro throughout the entire fight, by taunting, warcrying and shield bashing. While the druids keep the tank alive. Rangers, rogues and mages simply attempt to kill the boss in record times. Easiest tactics for most bosses.
2. Bolas kill (B)
Group requirements
2+ rangers (bolas requirement)
X druids
X warriors
X mages
X rogues
This is basically where the boss is attempted to be killed while it is Bolased. This can be done with 2-3 rangers alone. The rangers would have equal Bolas' to allow for the boss to be Bolased continuously. The ranger would Bolas the boss, and kite (run to different places within the bosses range of movement and attack without being hit), when one ranger dies another ranger takes over the Bolas tanking. This strategy is effective if lucky. A few well timed evades can ruin this strategy.
3. Shield bash kill (S)
Group requirements:
4-8 warriors (shield bash requirement)
X rangers
X druids
X mages
X rogues
This basically forces the boss to be immobile the entire fight. Before update a group of warriors if lucky could shield bash a boss to death, by timing the shield bash the boss would stay immobile throughout the entire fight. Each warrior requires the same level shield bash for this to work. The boss starts by the first warrior shield bashing the boss rendering it immobile, from there the group attacks. When the shield bash is about to wear out then the next warrior uses it to keep the boss immobile. This continues throughout the warriors in the group until the boss is dead.
4. Grasping roots kill: (G)
Group requirements:
3+ druids (grasping roots requirement
X rogues
X warriors
X rangers
X mages
Basically the same as shield bash but this skill causes the mob just to stop its movement. So using a druids ranged skills this can kill a boss easily,
5. Zerging (Z)
X rogues
X rangers
X warriors (dps)
X druids (dps)
X mages (dps/lure)
This is basically fighting the boss using plat items, or running from a leystone. This is one of the most expensive tactics. Basically the entire group attacks the boss, using items to survive longer and idols to resurrect themselves.
6. Multiple groups (M)
Group requirements
5-7 druids (support)
2+ warriors (tanks)
3+ rogues
3+ rangers
3+ mages (any type)
This is for end game bosses and some event bosses, using some of the other tactics. There are 2-3 groups, for example:
Group 1
2 warriors (tank)
6 druids (support)
Used for tanking the boss and any adds that are encompassed in the fight.
Group 2
1 druid
2 rangers
2 warriors
1-3 mages
X rogues
Used as the lure and secondary damage group. Casting buffs and debuffs during the fight. They are usually in charge of any stray adds.
Group 3
3+ rogues
X rangers
X mages
0 druids
0 warriors
This group is primary dps group they concentrate on the boss trying to kill it in record times. Not always there but decrease the time taken considerably
Basically group 1 engages adds first to remove them from the fight itself. 3 Druids healing tank 1 who holds the adds aggro using warcry. Then after the adds are under control, tank 2 engages the boss, the remaining druids heal and buff this tank. Throughout the entire fight. Depending on the boss you might bolas kill with an add tank (tank 1) or shield bash kill, but grasping roots kills don't work for later bosses. After tank 2 has control of the boss then the rest of the groups attack the boss until dead.
Bosses (0004)
I will start from the old bosses, then work through update 4 bosses. Then will finish with event bosses.
Old Bosses (0004a)
Disciple Kiara, Ducarius, Avatar of donn.
level 35-30-40 respectively
6 stars
These bosses are a simple kill, once you are around these bosses find a druid to help you kill it, if they can hold out their energy the entire battle you will win.
Tactics- Z, G, B, S, T
Arch-Disciple Syrus, Malurna, Incarnation of Donn
level 35-30-40 respectively
6 stars
Simple in small groups but time consuming.
Tactics- Z, G, B, S, T
Quickblade, Stabscar, Klondur, Greywall, Carlow, Wrolf, Blackblade, Malus and Laird
level 30-50
5 stars
Melee 'bosses', these are fairly easy.
Tactics- Z, G, B, S, T
Jerral, Firecry, Notchspire, Farsight
level 30-50
5 stars
These are ranged or magic bosses and can be slightly problematic.
Tactics- Z, S, T
Skystrike
Level 50
5 stars
This boss is very difficult, when you are ready to kill him you have no resists to his skills so more than likely he will one-hit everyone. Luckily he spawns near a leystone.
Tactics-Z
Atrisal the Invincible
Level 60
6 stars
This boss is very difficult to kill when you are a similar level. I would suggest getting a druid with a good Shield of Bark. This boss is very time consuming.
Tactics- Z, G, B, S, T
Guzzletusk
level 60
5 stars
This boss is very difficult but use the same strategy as Atrisal
Tactics- Z, G, B, S, T
Fairy Queen
level 70
5 stars
This is a difficult kill simply because of her Barbed Shot. This skill deals a whopping 400 damage per tick. Without a few druids this is very hard. She is a ranger to add to your troubles
Tactics- Z, S, T
Fellfire, Charfire
Level 60
6 stars
Fellfire is a difficult boss, simply because of its fire cloak, but a few good rogues are able to inturrupt this often. Charfire is just the easier version of this. Uses Fire Skills.
Tactics- Z, S, T
Chillmist, Crystalmist
level 65
6 stars
Chillmist is a difficult one, simply because it deals up to 1600 damage using one skill. I recommend avoiding this mob unless you have managed to find a druid who has maxed Ward of ice. Uses Ice skills.
Tactics- Z, S, T
Starspell, Shimmerspell
level 70
6 stars
This is one of the easier bosses, by this time you are fairly knowledgeable of boss fights, this boss is resistant to melee damage so finding that rare dps druid would be ideal here. Uses Magic Skills.
Tactics- Z, S, T
Spirehoof, Crumblehorn
level 75
6 stars
This is a difficult boss as it travels through Stonevale. If you engage it in the wrong place you will lose. Pierce damage skills
Tactics- Z, G, B, S, T
Falgren, Brutus
level 80
6 stars
This is the final warden quest boss but it can be very easy if you set up your skills correctly. Uses magic based skills, and heals! Rogues are required for inturrupts.
Tactics- S, T
Goretusk, Stonefang, Spearhorn, Bonehead, Rockbelly (not doing place holders apply same strategy)
Level 75-105
6 stars
These are all the melee Meteoric Quest bosses, they are the easier of the bosses. They usually can be Zerged, but if you want to save some gold i suggest using the Traditional method.
Tactics- G, B, S, T
Redbane
Level 90
6 stars
The only ranger, fairly simple, has a leystone nearby so can be Zerged easily
Tactics- Z, S, T
Shivercowl
level 100
6 stars
This is our meteoric fire mage boss. It casts fire skills. Very difficult to defeat when not prepared, using fire ward helps a lot for this boss. This boss has been moved from Dustwither Catacombs to Dunskeig Sewers.
Tactics- S, T

Bladewing
level 90
6 stars
This is the ice mage, she casts ice magic. Very difficult to defeat without ice ward. Worthless for the drops.
Tactics- S, T
Deadroot
Level 105
6 stars
This is our druid of the bosses, it casts magic based skills, and heals. A few good rogues are required to take this boss down, and magic ward makes the boss so much easier. This boss also got moved to Dunskeig Sewers.
Tactics- S, T
All-Seeing One, All-Knowing One
level 110 and 120 respectively
6 stars
These are fairly ease when you know what to do. Avoid using Smoke Bomb, as this causes the boss to call for adds quicker. Use assassins ward, and maintain adds.
Tactics- Z, G, B, S, T
Swamplord, Swampking
level 115 and 125 respectively
6 stars
I refer to this boss as the troll boss simply because of its annoying shield. This is a long fight and could be costly if your not prepared. Crush ward is effective for this boss.
Tactics- G, B, S, T
Woodcrown, Gnarlroot
level 120 and 130 respectively
6 stars
This boss is easy. This is the first introduction of a half health skill, they sprout thorns at half way which is basically a 1 hit kill to anyone who hits. Be wary of this when killing him. Crush ward helps
Tactics- G, B, S, T
Chained King, Chained Emperor
level 125 and 135 respectively
6 stars
This boss could cause some problems, it drains your energy and steals your health. A good amount of rogues and ranger will interrupt the boss most of the time. It uses magic skills.
Tactics- G, B, S, T (it does cast over long distances, but will charge you to melee)
Grommak, Ragnok Stonelord
level 130 and 140 respectively
6 stars
This boss is very annoying for melee players as it casts many AoE skills, Quake being the worst, although it gives you enough time to escape, sometimes your animation wont allow you to move in time. At halfway it casts a skill that causes a large amount of damage to the area. Easily avoidable by running back about 5-6 steps. Uses crush damage
Tactics- G, B, S, T
Pyrus, Ignus Lavalord
level 135 and 145 respectively
6 stars
The final boss in the frozen armour line. This boss is very difficult for casters as they are fighting on lava causing them to be in combat constantly making any regen slightly lower than it should and meditate useless. This boss casts quake, and Ignus absorbs any fire skills. Ignus will also cast a fire cloak after a certain amount of time. At halfway the boss casts a quake like skill that deals large damage to the area but easily avoided by taking a few steps backwards. This boss uses fire and crush damage.
Tactics- G, B, S, T
Bubulus, Gribbles, Pollyx, Splee,
Level 85-90-95-100 respectively
5 stars
These bosses are fairly simple, use pierce ward and kill them.
Tactics- Z, G, B, S, T
Scion the Lost, Shrouded Lord
level 115 and 120 respectively
5 stars
These bosses require more effort due to their skill usage. Their skills are magic based.
Tactics- G, B, S, T
Larchthroat and Bramblebark
level 105 and 110 respectively
5 stars
These bosses are fairly easy although bramble will heal near low health. Easily interrupted by rogues. They use crush damage
Tactics- G, B, S, T
Rockalanche, Dominator
level 120 and 125 respectively
5 stars
These are slightly more damaging. They both use AoE attacks which means melee accounts will have difficulty. These aren't very difficult although. They use crush damage
Tactics- G, B, S, T
Aggragoth
level 150
6 stars
This is a long fight where you will have to deal with multiple adds. Aggragoth is not a problem without the adds. So many people simply exclude the adds. This is where the multiple groups tactic was devised. It has proven to be the best tactic for difficult bosses so far. Aggragoth is a mixture of fire, slash and crush damages.
Tactics- M
Voidreaper, Fireflight, Skydancer, Frostharrow, Vedranox
Level 90
5 stars
These mobs used to be for meteoric weapons. Now they are just rare spawn mobs. They use magics for each different type. Fireflight uses fire, Frostharrow uses ice, Skydancer uses Magic, Vedranox uses poison and Voidreaper uses non-elemental damage. Killing these are easy with a druid to back you up.
Tactics- Z, S, T
Otherworld Harbringer, female rogue
Level 90
5 stars
These are rare spawn mobs that have no real use. They have a very strong melee damage attack. Harbringer uses magic based melee and the rogue uses pierce damage melee.
Tactics- Z, G, B, S, T for rogue
Tactics- Z, S, T for Harbringer
New Bosses (0004b)
I will divide these bosses into areas then species to make it easier, apart from sewers.
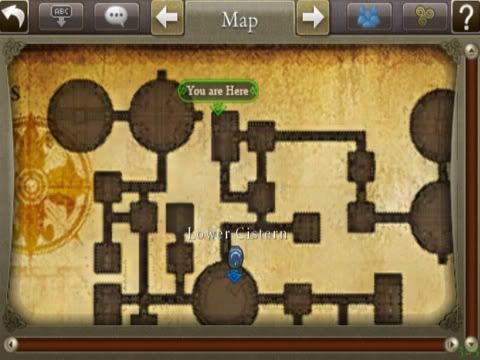
Dunskieg Sewers (0004b1)
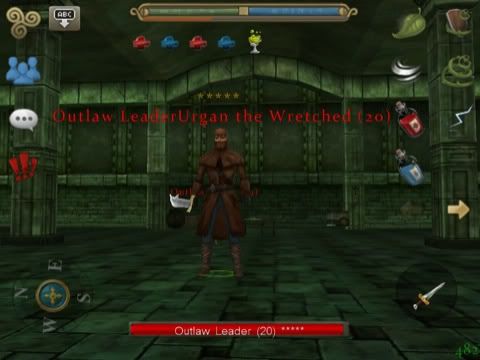
Outlaw Leader Urgan the Wretched
Level 20
5 stars
Simple boss, a few stray adds. Kill them off as they attack.
Drops: Nil
Tactics- Z, G, B, S, T
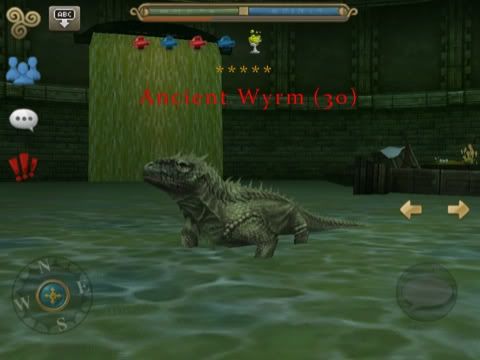
Ancient Wyrm
Level 85
5 stars
This boss isn't too difficult. This is basically a money mob as it drops up to 2,000 gold which at this level is amazing. Fairly easy boss can be killed with few casualties.
Drops: Nil
Tactics- Z, G, B, S, T
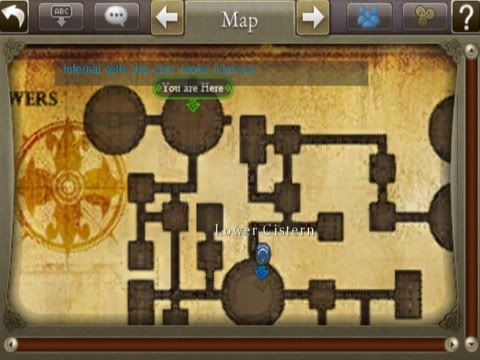
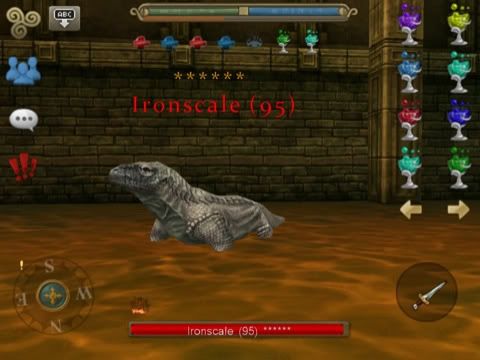
Ironscale
Level 95
6 stars
This boss is the new Ironspike boss, it at the moment has the same moveset as ironspike which may change throughout beta. This boss is fairly simple to kill 2-3 druids can heal a tank of the same level.
Tactics- Z, B, G, S, T

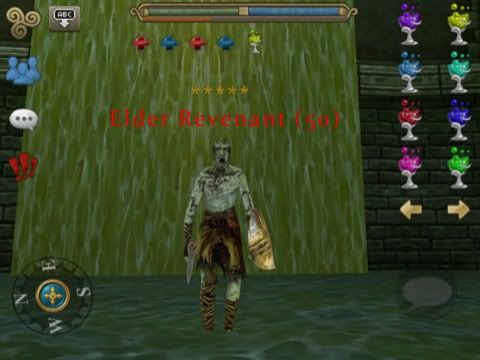
Elder Revenant
Level 105
5 stars
Again fairly simple, drops a large amount of gold.
Drops: Nil
Tactics- Z, G, B, S, T

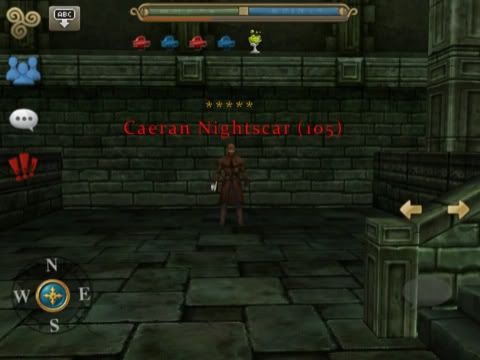
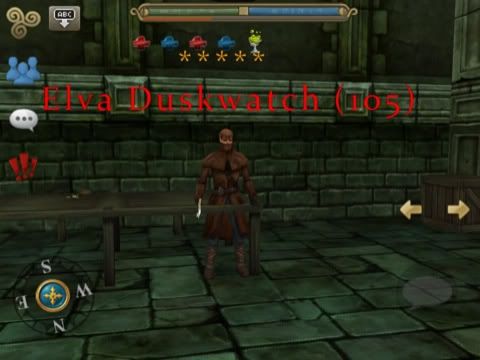
Caeran Nightscar, Elva Duskwatch, Aidan Shadowfist (Smugglers)
Level 105
5 stars
These bosses are used to get the meteoric weapon, again fairly simple but there are adds nearby which should be watched, although they are only roughly level 40 they still interrupt druids.
Drops: Nil
Tactics- Z, G, B, S, T

Hrungnir
Level 185
6 stars
This boss can be difficult, refer to high priest.
Drops: (not found)
Tactics: Refer to high priest
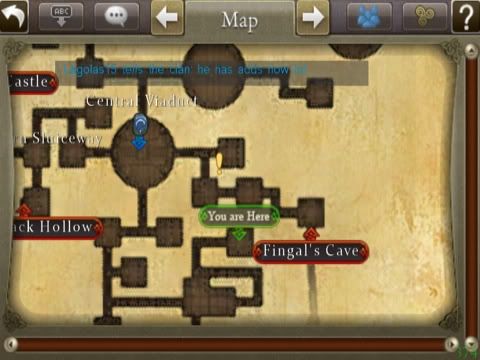
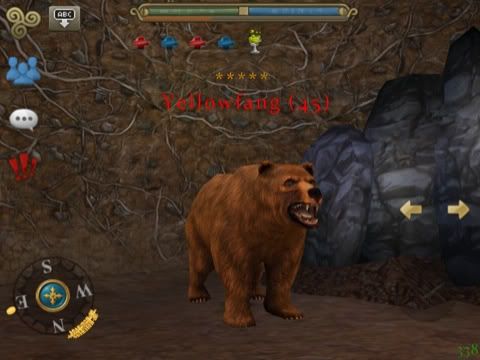
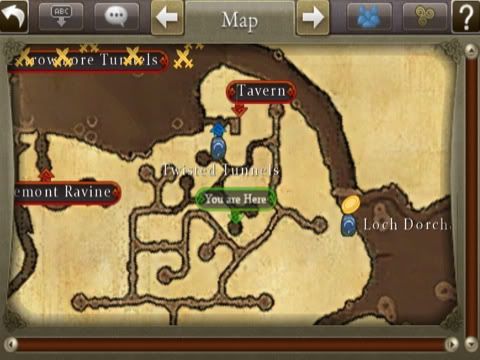
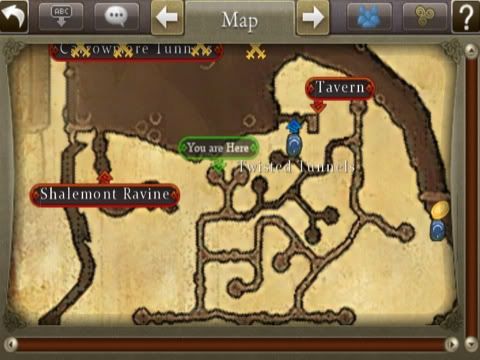
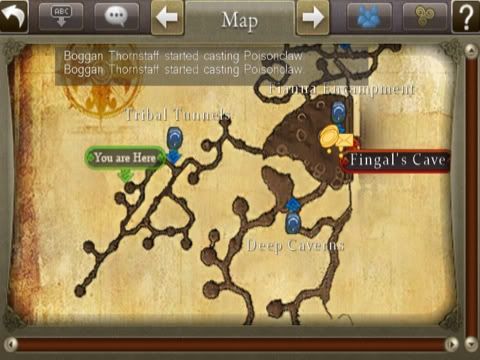
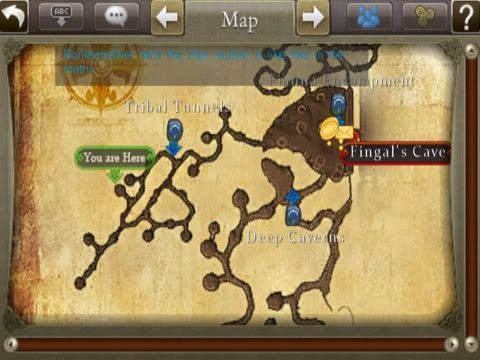
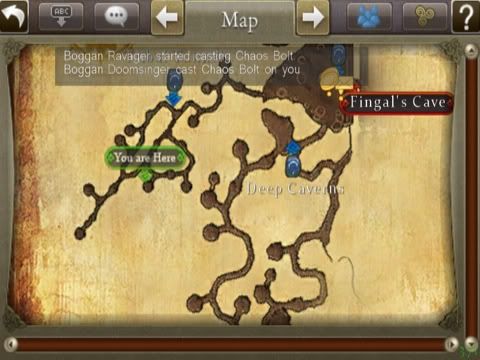
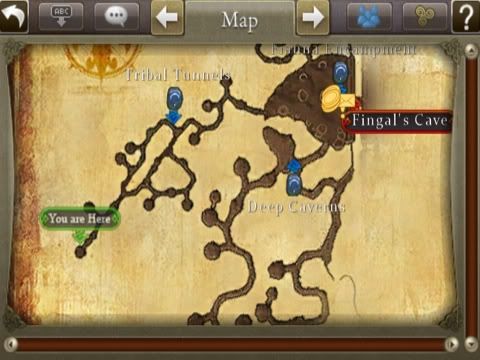
Fingal's Cave (0004b2)
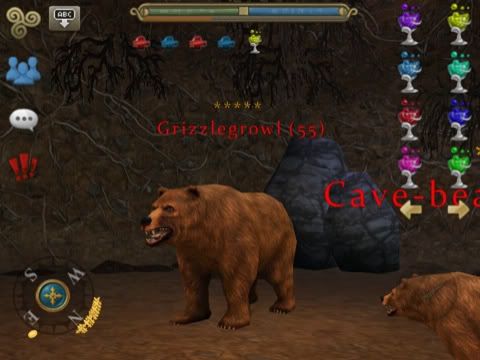
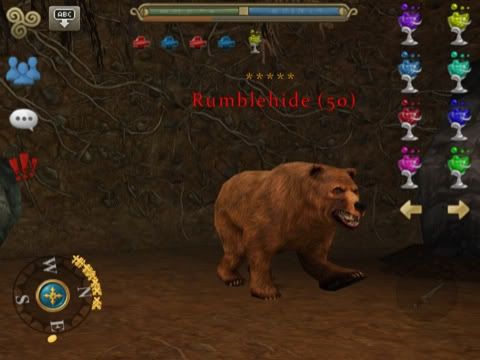
Bears
Yellowfang, Rumblehide, GrizzleGrowl
Level 45, 50, 55
5 stars
These are simple bosses, there are usually 2-4 bears in the same room which are easily dealt with. They don't cause large amounts of damage. They do drop nice gold.
Drops: Nil
Tactics- Z, G, B, S, T
Others
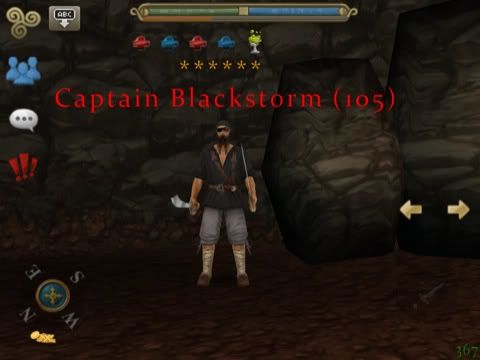
Captain Blackstorm
Level 105
6 stars
This boss is required for meteoric weapon, it does hit harder than the smugglers, but nothing 2 druids can't handle. Only thing you would have to worry about is the nearby adds.
Drops: Sea Chart
Tactics- Z, G, B, S, T

Glashtyn Elderscale
Level 155
6 stars
This boss is required for dragon armour. It is difficult to fight with a small group, as it is surrounded by other mobs. I would suggest luring one mob out and killing it, until you can lure the boss out to kill it. This boss calls adds so this can be a very hard boss i recommend that the whole group being similar level to the boss so the adds are easily handled
Drops: Ritual Gems and Eggs (Red, Blue, Green, Purple, Yellow)
Tactics- G, B, S, T

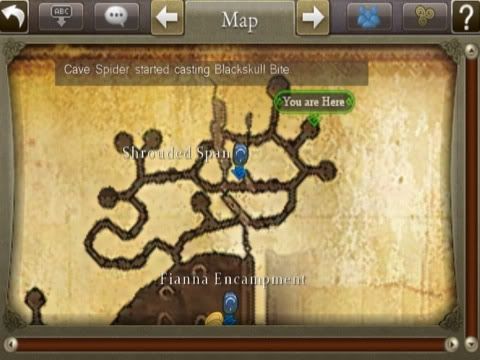
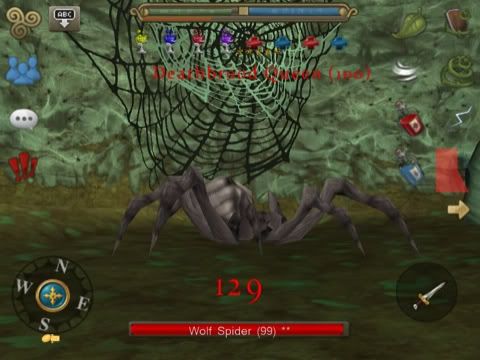
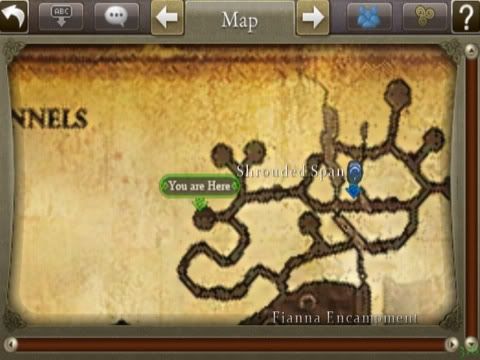
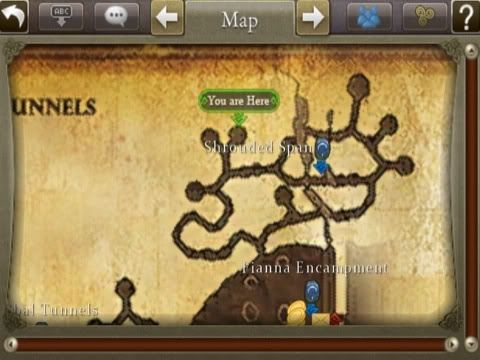
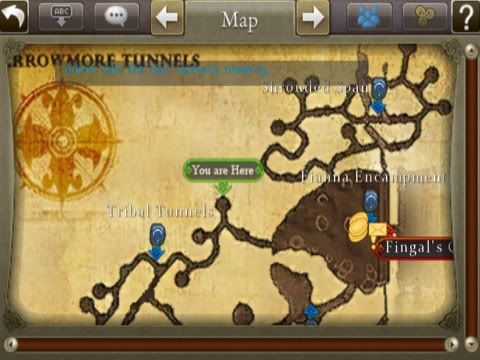
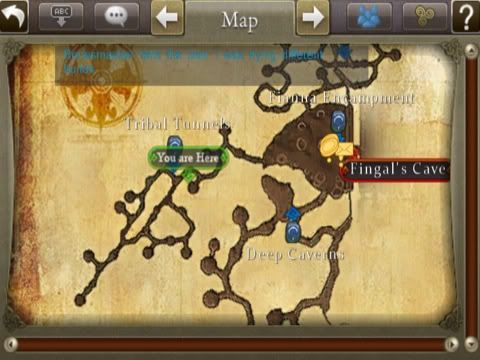
Carrowmore Tunnels!!!!!
Spiders!
Deathbrood Queen, Bloodbrood Queen
Level 100, 110
5 stars
These are simple bosses. They drop around 6-8k per kill in a group. These are worthwhile bosses to kill. The only problem is the adds surrounding them, they will inturrupt druids which can lead to problems.
Drops: Nil
Tactics- Z, G, B, S, T

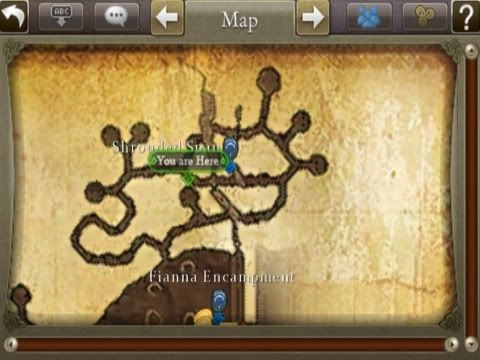
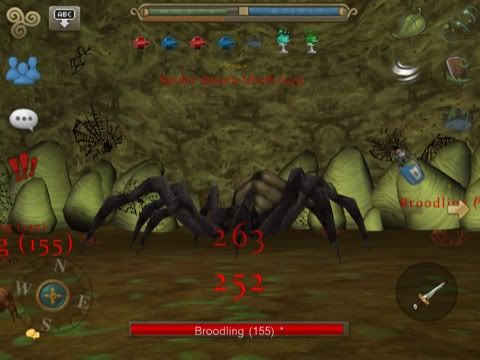
Spider Queen Ulrob
Level 155
6 stars
This boss is required for dragon armour. It is very annoying to kill as it will call the numerous adds around it into the fight. I suggest pulling it towards the opening of the tunnel. This will minimise the amount of adds pulled. The next problem is the adds that are pulled get sacrificed, so that the boss regains health. The only way around this is for the dps characters to kill the adds as soon as they spawn.
Drops: Ritual Gems, Eggs and Urns: (Red, Blue, Green, Purple, Yellow)
Tactics- G, B, S, T

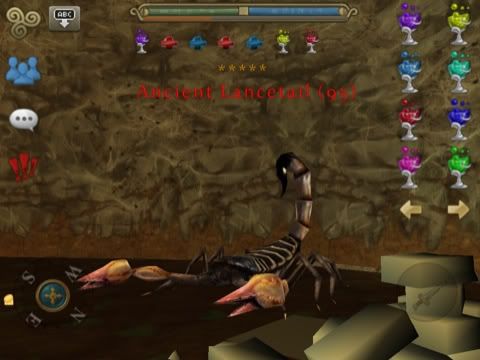
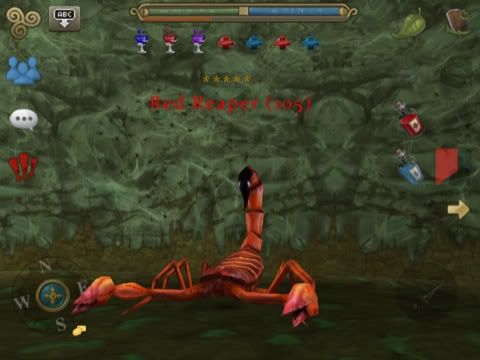
Scorpions
Red Reaper, Ancient Lancetail
Level 105, 95
5 stars
These bosses are simple small groups can kill them. They are money bosses. Few adds surround it.
Drops: Nil
Tactics- Z, G, B, S, T
Boggans!!!
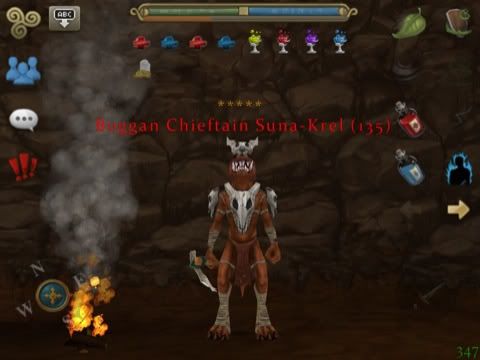
Chieftains
Boggan Chieftain Suna-Krel
Level 135
5 stars
This is a fairly easy boss by itself, but it is surrounded by adds, making this a difficult fight. The main idea is to pull this boss to a place where the least amount of adds attack you. When you do this you will kill the stray adds and focus on the boss. This is a money mob.
Drops: Nil
Tactics- S, T
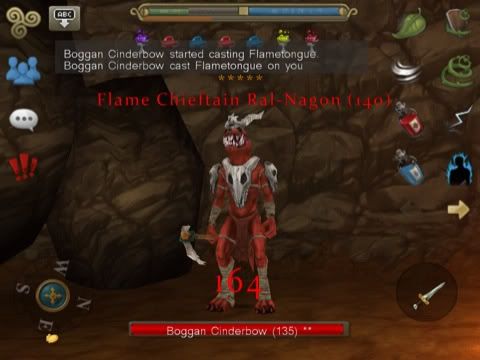
Flame Chieftain Ral-Nahon
Level 140
5 stars
See Boggan Chieftain
Drops: Nil
Tactics- S, T
Venom Chieftain Taka-Hul
Level 145
5 stars
See Boggan Chieftain
Drops: Nil
Tactics- S, T

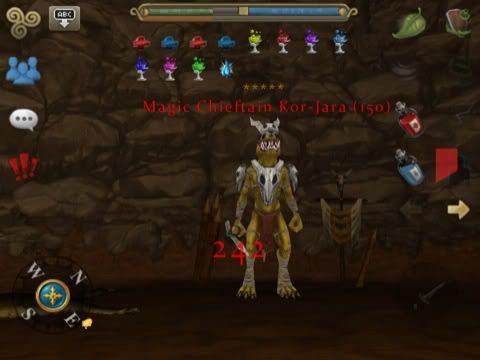
Magic Chieftain Kor-Jara
Level 150
5 stars
See Boggan Chieftain
Drops: Nil
Tactics- S, T
Ice Chieftain Brot-Ven
Level 155
5 stars
See Boggan Chieftain
Drops: Nil
Tactics- S, T

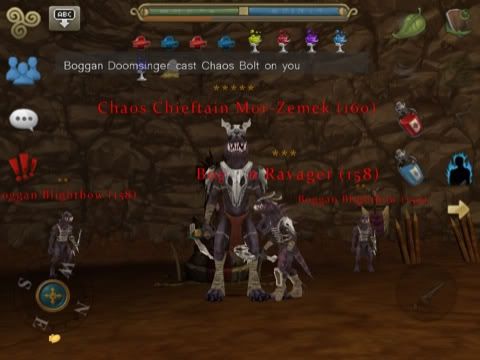
Chaos Chieftain Mor-Zemek
Level 160
5 stars
See Boggan Chieftain
Drops: Nil
Tactics- S, T
Special Boggans
High Priest Bor-Ag-Valon (unsure on name and stats)
Level 160
6 stars
This boss is required for dragon armour. It spawns in the middle of a circle of mobs making it difficult to fight it alone. My advice is to remove some adds before engaging the boss, then pulling the boss out of the circle to minimise how many adds are involved. Again calls adds if you pull it towards the tunnel the adds will minimise.
Drops: Ritual Eggs, Urns and Idols (Red, Green, Blue, Purple, Yellow)
Tactics- S, T
-insert photo-

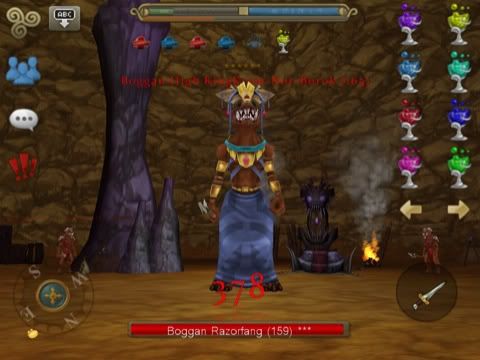
Boggan High King Krem-Nor-Borok
Level 165
6 Stars
See High Priest
Drops: Ritual Urns, Idols and Horns (Red, Green, Blue, Purple, Yellow)
Tactics- S, T
Warbeast Trainer
Level 140
5 stars
This is a money mob. It is very difficult to kill as its spawn point is in a room with about 12 lizards. I recommend attacking this boss where he stands or in the middle of the room, as the lizards only spawn on the wall of the room. This will minimise how many of them will attack you. Simply kill them as you fight the boss.
Drops: Nil
Tactics- S, T

Firbolgs
Chieftains
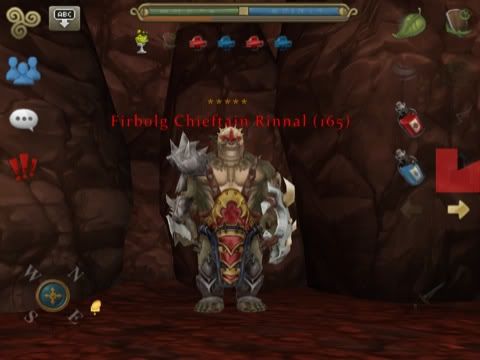
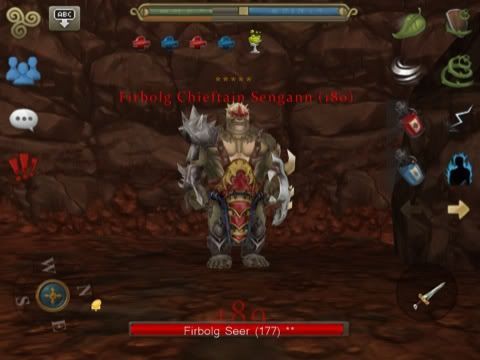
Firbolg Chieftain Rinnal
Level 165
5 stars
This mob is a money mob. It spawns similar to the Boggans, in little enclaves. It spawns in heavily populated rooms making the a difficult fight, unless you can pull them into an area with less adds. Use the same tactics as the Boggan Chieftains.
Drops: Nil
Tactics- S, T

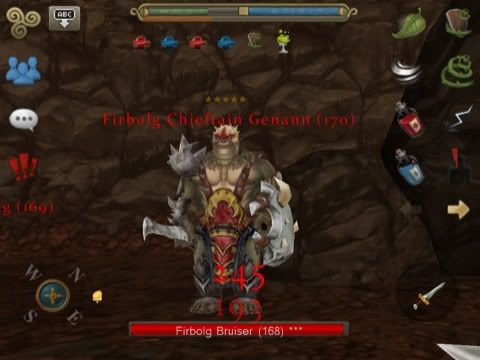
Firbolg Chieftain Gennan
Level 170
5 stars
See Firbolg Chieftain Rinnal
Drops: Nil
Tactics- S, T

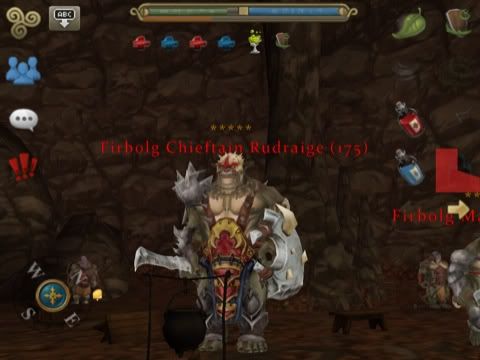
Firbolg Chieftain Rudraige
Level 175
5 stars
See Firbolg Chieftain Rinnal
Drops: Nil
Tactics- S, T
Firbolg Chieftain Sengann
Level 180
5 stars
See Firbolg Chieftain Rinnal
Drops: Nil
Tactics- S, T

Sreng the Champion (unsure of name and stats)
Level 170
6 stars
See High Priest
Drops: Ritual Idols and Horns (Red, Blue, Green, Purple, Yellow)
Tactics- S, T
-insert photo-

Others
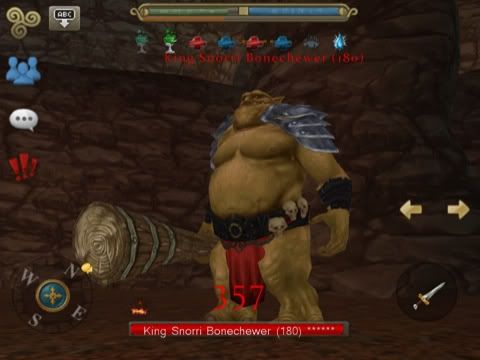
King Snorri Bonechewer
Level 180
6 stars
This boss is required for dragon armour. It spawns by itself which means it isn't very difficult. It calls adds but only 2-3 adds will come so pull closer to the wall and you will limit the adds able to be involved in this fight.
Drops: Ritual Horns (Red, Blue, Green, Purple, Yellow)
Tactics- Z, G, B, S, T
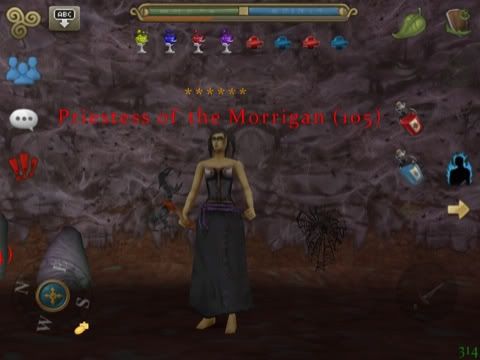
Priestess of Morrigan
Level 105
6 stars
This boss is needed for Meteoric Weapon. Fairly easy, just pull to the very back part of the wall and hack away. If you dont the spiders nearby will attack you.
Drops: Benedictions, Echoes, Rites, Litany and Invocations of Morrigan (drops 3 random ones)
Tactics- Z, S, T

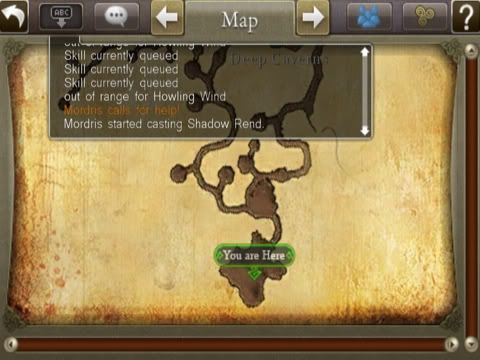
Mordris
Level 190
6 stars
This is the end-game boss, i am yet to have killed this. I suspect the tactics will be similar to Aggragoth, but i believe there should be 2 tanks holding the trolls back and 9 druids for the most effective strategy. Other than that you can have 1 tank holding the majority of the adds off and the secondary group killing any stray adds. If the warrior gets into trouble, rangers can break off and help heal until they recover.
Drops: Well you'll have to fill this one in
Tactics- M
There are a few images of the new bosses I haven't been able to get so if anyone finds one could they please post it for me.
Event Bosses!!!!!!!!!!! (Only bosses that still spawn)
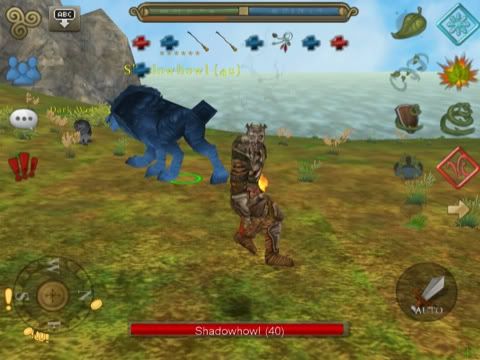
Shadowhowl, Bloodfang, Fenris
Level 40
6 stars
These were old bosses that used to spawn near the Crossroads, they are fairly simple bosses who spawn near leystones.
Drops: 25, 50, 75 or 100 of x resist helm. (Stats and resist type is randomised)
Tactics: Z, G, B, S, T
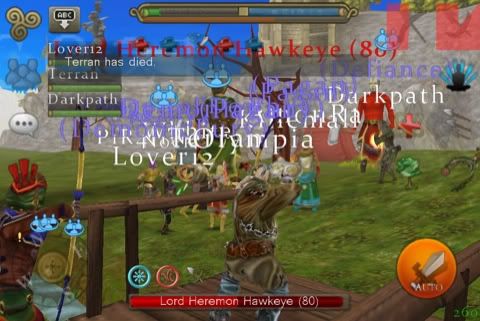
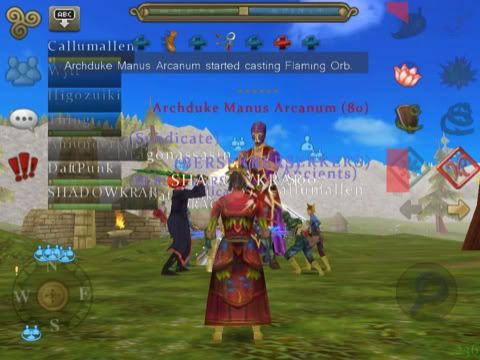
Connacht bosses: Archduke Manus Arcanum (Mage), Lord Heremon Hawkeye (Ranger), -Insert name- (Warrior)
Level 80
6 stars
These bosses spawn all over Shalemont, i have only killed the Mage, who is easily defeated. He uses magic skills which you should use ice and fire wards to lower the damage taken.
Drops: Mage: Connacht Magus Robes (Mage and Druid armour)
Warrior: Connacht Vanquisher Armour (Warrior armour)
Ranger: Connacht Pathfinder (Ranger and Rogue armour)
Tactics: Warrior: G, B, S, T
Mage: S, T
Ranger: S, T
This is a bad pic but i couldn't find anything better
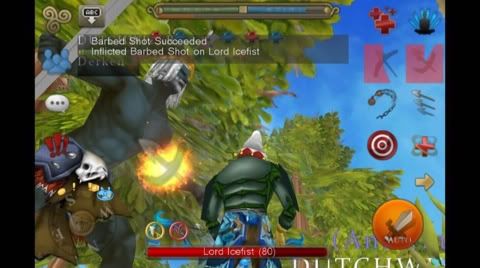
Lord Icefist and Winterking (general names cant remember real names)
Level 80
6 stars
These were a winter patch boss, who still spawn on rare occasions. They were quite strong at the time and if you decide to kill them at the same level, you'll find they are still just as difficult. These spawn just behind Havgar's tents on very rare occasions.
Drops: The weapon they're holding (no knuckles)
Tactics: G, B, S, T
Icefist
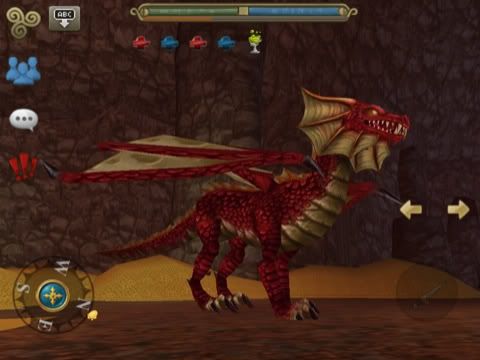
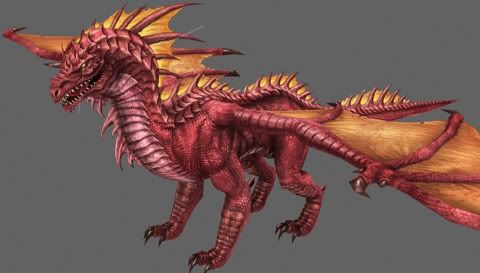
Solstice Hatchling
Level 50
6 stars
This boss was part of the 1st Birthday Patch. It still spawns today on rare occasions. This boss has 2 skills, 1 is a fire breath (dragon fire) attack. This does area damage around the target, but because it is such a small boss everyone gets damaged who is meleeing this boss. 2nd attack is an attack that lowers the players health. This is called tearing claws, this skill is easily countered with an Abundance skill level of 2 or more. This boss spawns near the Crossroads leystone.
Drops: Greater and Lesser Midsummer armour, necklaces, braces and rings.
Tactics: Z, G, B, S, T
Solstice Drake
Level 90
6 stars
This is the 2nd of 3 bosses in the 1st Birthday Patch. It has the same skills as the Hatchling but its Tearing Claws require an Abundance of 4 or more to counter it. This boss spawns west of the Docks leystone, but close enough to run back.
Drops: Lesser and Greater Solstice armour, necklaces, braces and rings.
Tactics: Z, B, G, S, T
Ythair Sunscale
Level 140
6 stars
This is the final boss of the Birthday Patch. This boss is basically the hardest version of the three bosses. It has the same skill-sets as the first two bosses except more powerful. Tearing Claws requires 7 or more points in Abundance to counter it. I suggest fire ward for this too. It spawns to the southwest of the stone circle.
Drops: Lesser, Greater and Radiant Earthstone armour, necklaces, braces and rings.
Tactics: B, S, T

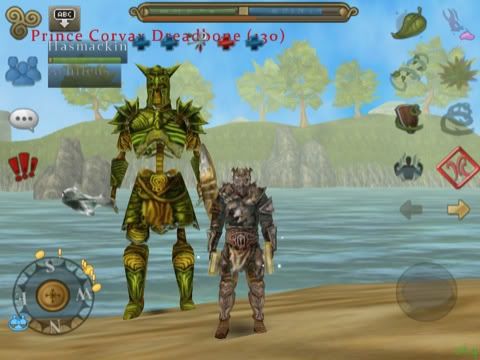
Prince Corvax Dreadbone, King Vorum Dreadbone
Level 130 and 140
6 stars
These bosses were a part of the Samhain event (halloween) patch. They still spawn on the beach near Havgar's tents. These are fairly simple bosses when the adds got removed. Now for this boss you need a druid with maxed Fire Ward and all druids need Nature's Breath. This boss uses 4 skills. Aura of Corruption which basically causes damage to all people surrounding him with a DoT effect, this can be avoided by running back and not hitting until the effect wears off, but with druids around with Nature's Breath, it isn't needed. Next is a skill that shoots 8 fire bolts to random players surrounding the boss. This is probably the most annoying skill this boss uses, but with Fire Ward and Nature's Breath, is easily managed, can cause druids to be interrupted though, so be prepared to use idols. Next is Chilling Grasp, this causes the Tank to become immobile for a few seconds. This can be very annoying as it can cause other members in the group to take aggro. Which is why i highly recommend a second and possibly third tank to be prepared to take aggro. Last but most powerful skill is Death's Touch. This skill deals at most a whopping 6k damage. This can be an instantaneous kill for some tanks. This skill can be weakened by at most 2k damage using Shield of Bark. Usually this skill is used followed by Chilling Grasp, killing almost every tank. Ususally a few shield bashing warriors will help avoiding this skill well.
Drops: Various Stat/ability rings for each class, various Stat/Ability/Skill misc slot items for each class, various elemental damage necks for rogue/ranger/warrior. 10 and 15 pierce damage necks.
Tactics: M (Z, T, S)
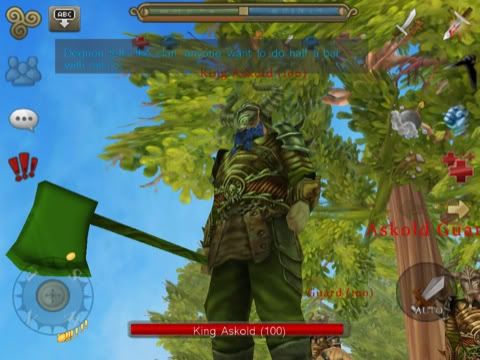
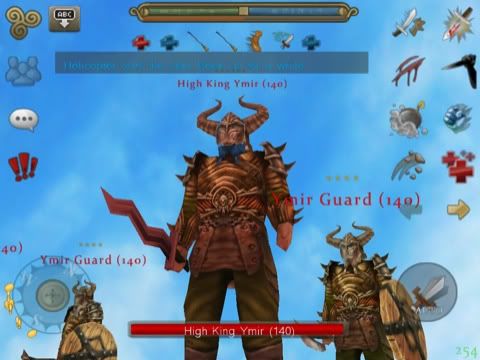
Lord Grimling, King Askold and High King Ymir
Level 60, 100 and 140
6 star
These are easy bosses compared to the Dreadbones. They have 3 skills. One is Wild Swing which deals damage to one person who is within range. This is easy to lower the damage, just have a few druids with bark to bark the entire party, and then a 2k damage swing will lower to 500-1k damage hit which is easily healed with a pot or a few Nature's Breaths. The second skill is Freezing Gale. This is the worst skill, it causes everyone to lose all aggro and then attack the person who makes the next heal or support skill on the tank. This can be fixed by having a second tank to take aggro standing behind the boss, who taunts when the boss casts this skill. Lastly there is a skill that causes the tank and people around the boss to get a DoT ice damage status. This can be healed easily but if you decide you need better chance use Ice Ward.
Drops: The weapon they're holding, Ymir being the strongest, Grimling being the weakest.
Tactics: Grimling: Z, B, G, S, T
Askold: B, G, S, T
Ymir: M (S, B, G, T)
Grimling

Thus concludes Lukov's Boss Bashing Book for update 4
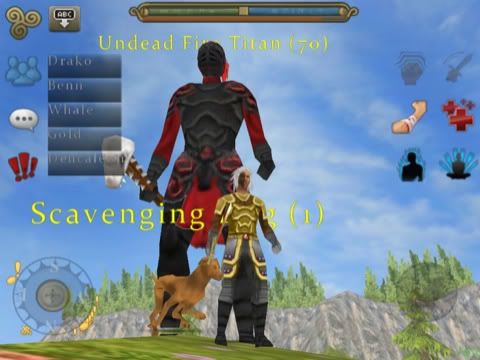
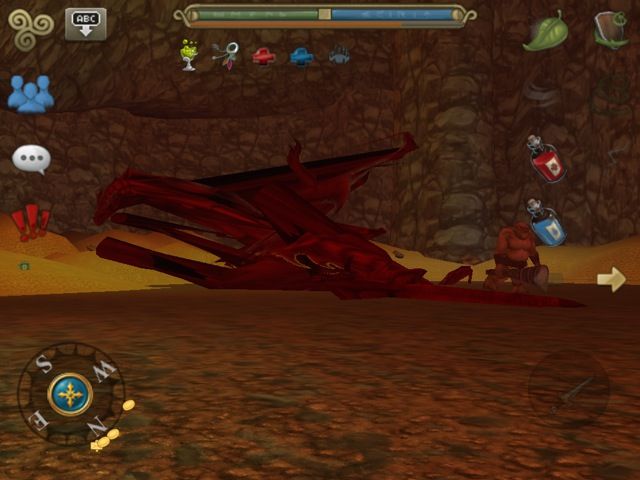
Bonus pics
Undead fire titan (doesn't spawn anymore), dropped darkflame armour.
King Vorum Dreadbones with Ymir's Bow

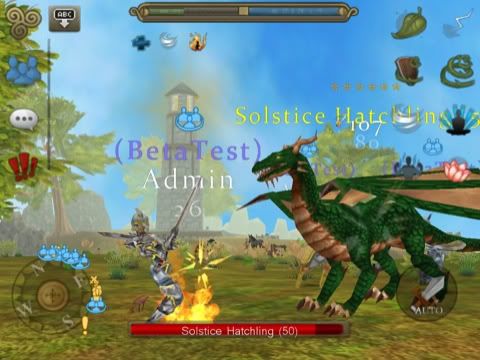
Admin getting smashed by a Solstice Hatchling

I think Mordris had an accident
Are hands supposed to bend that way?
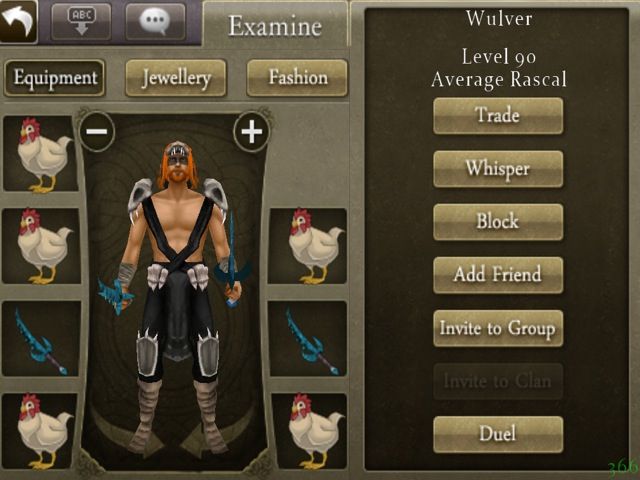
Wulver wearing chickens